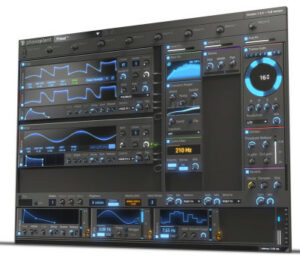
Bitwig Drum Machine, is a powerful device if you know about all the cool features. Understanding the audio signal flow in Bitwig Studio is crucial for any producer to make good use of the powerful routing in Bitwig.
Time to get your hands dirty and learn how the Bitwig Drum Machine REALLY works!
Bitwig Drum Machine video tutorial
I made a video on the Drum Machine of Bitwig where we talk about the drum machine audio signal flow and mixing. Furthermore we talk about the individual outputs and how to add effects the proper way.
Introduction to the signal flow of Bitwig
To grasp the signal flow of Bitwig Studio I think the first step is to learn that each device in Bitwig is a container. If you are familiar with programming (like C# or Javascript etc.), this is very much like an object which can contain a list of child objects.
Every Bitwig Studio device (plugin) is a container. That means that most Bitwig devices can contain “child devices”.
How to add plugin devices in Bitwig Studio
You can add Bitwig devices and third party plugins in several places (and depths) in the signal chain of a track in Bitwig Studio.
Firstly, the most obvious and standard way of adding plugins (like in Logic, FL Studio, Cubase etc.) is to add the VST plugins as mixer inserts. These plugins will be instantly available in the mixer, and the bottom device list of the individual track.
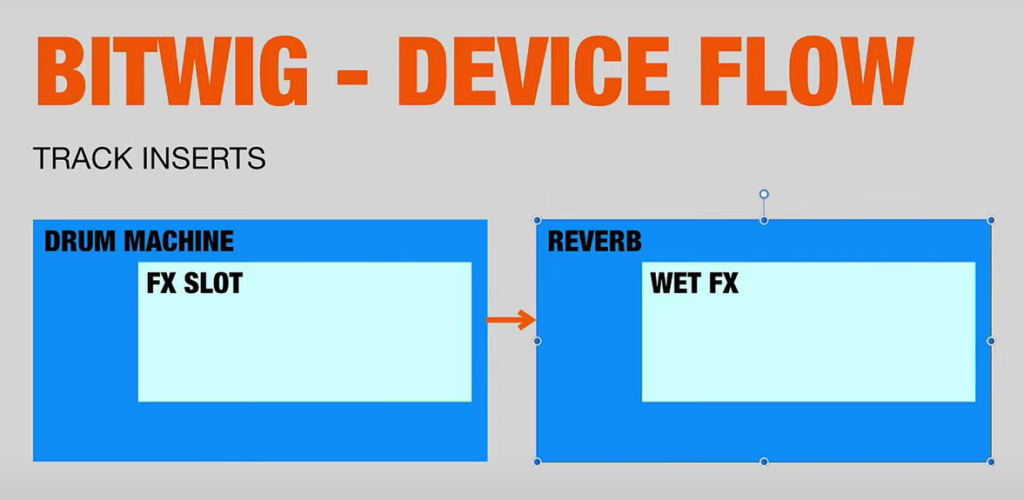
Importantly, as we can see in the image above. These track inserts (Drum Machine & Reverb) act as their own containers. Modulator data is only available within each of these containers. In this example, modulation data can not carry across from the Drum Machine to the Reverb.
Modulation can not carry across (…without special care…) from one insert device, to another insert device. Even if the inserts reside within the same track in Bitwig Studio.
Adding effects in the Bitwig FX slots
Secondly, the more streamlined way of adding plugins is making use of the FX Slots in the Bitwig devices.
If you add an effect (ie. Reverb plugin) in the FX Slot of a “container” device, like the Drum Machine. That new Reverb plugin will reside within the Drum Machine. Which is the container plugin!
What is the advantage of adding plugins as child devices (FX Slot) in Bitwig?
The main advantage is that the device fx-chain will be saved with the “master” container device if you save THAT device as a preset.
Another advantage is that you can use modulators from the main container device to modulate every parameter on the child devices in the FX Slot. This is a BIG plus if you want to make use of the Bitwig modulators to create intricate sounds.
I made an earlier article about WHAT can be modulated, and WHY, in Bitwig Studio which you can read here.
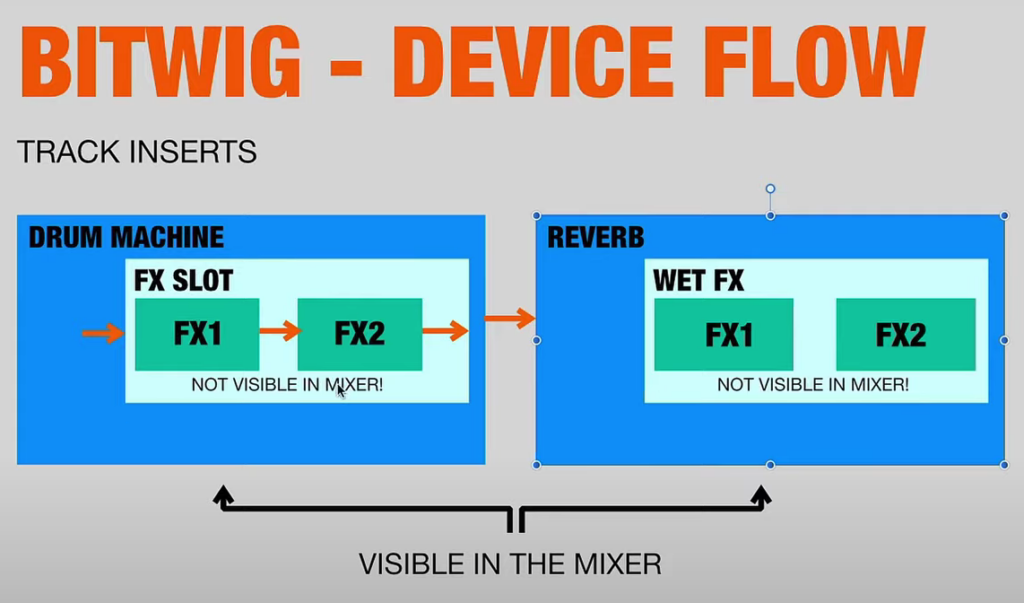
If we look at the above image, we can see that the downside is that the child devices (FX Slot effects) will not be visible in the mixer of Bitwig Studio.
But I believe the advantages far outweigh the disadvantages. Because it’s a real time-saver to have all your device setups saved within your preset for instant recall in Bitwig Studio.
